Using shaders in Unity
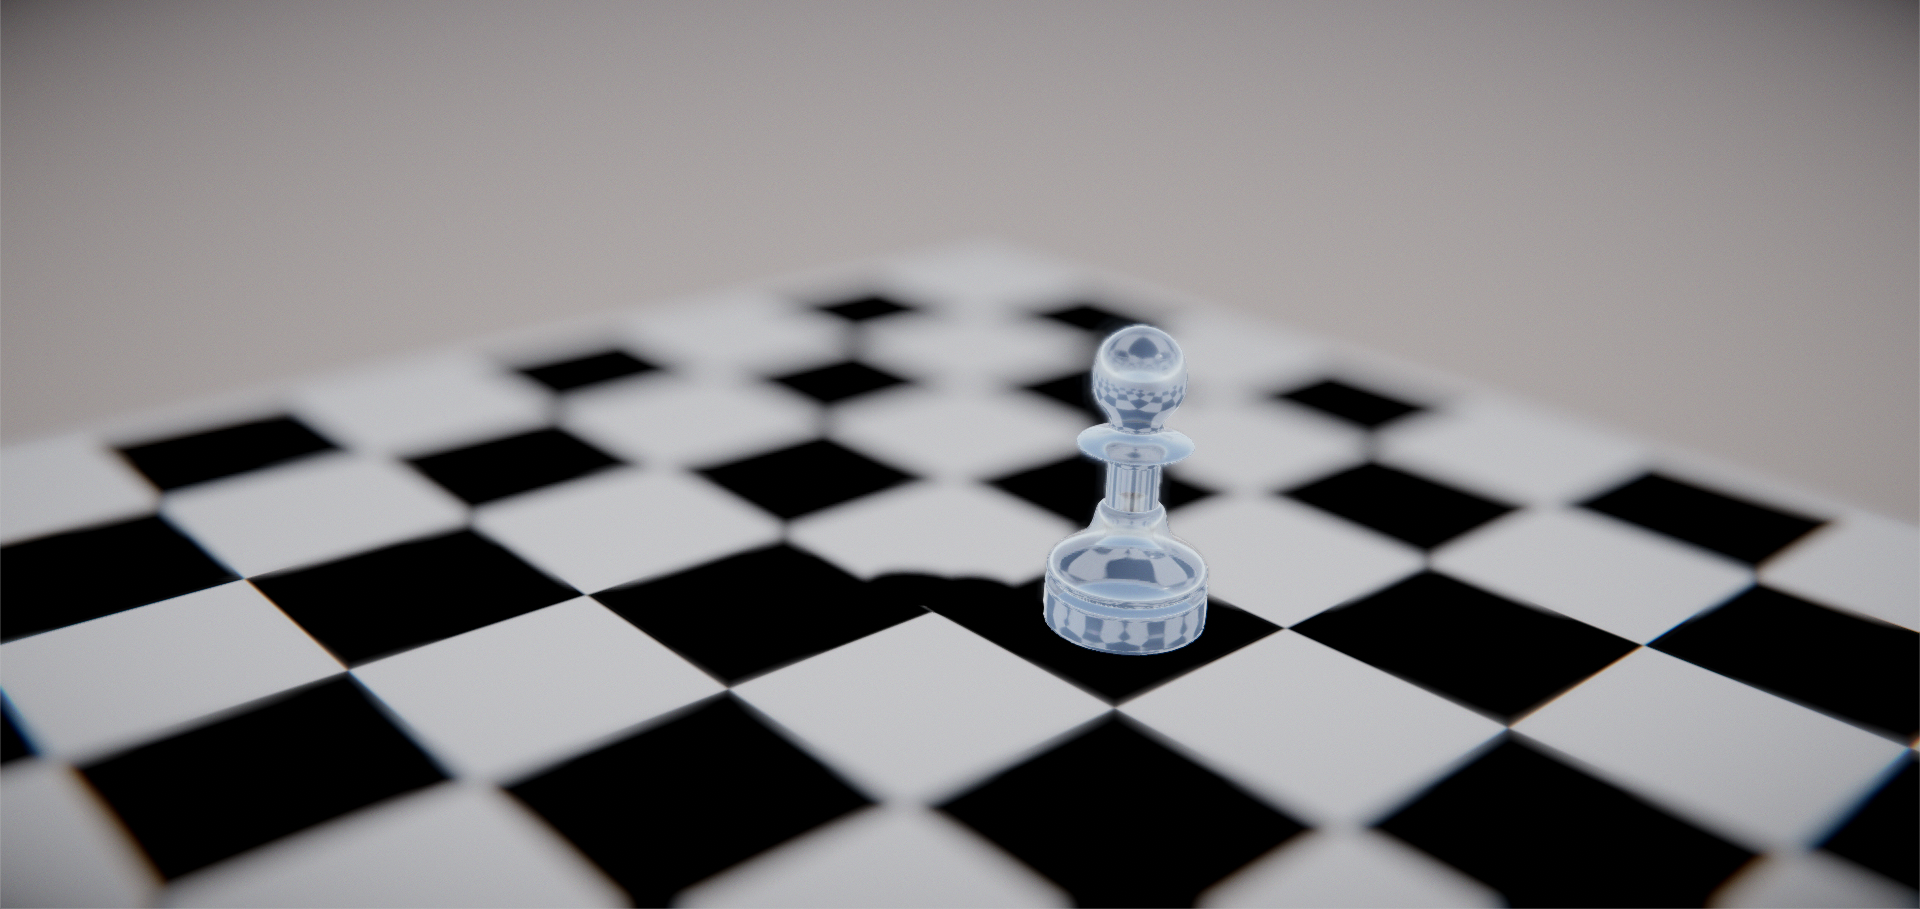
In this project we're going to implement and approximate refraction effect. When light travels from one medium to another it changes direction, this effect is called refraction. The change in direction is given by Snell's law:
\frac{\sin(\theta_1)}{\sin(\theta_2)} = \frac{n_2}{n_1}
where \theta_i is the angle between the surface normal and the light ray and n_i is the refractive index of medium i.
Following we have a sketch of what happens when a ray enters a surface, but usually refraction in simple objects will have double refractions leading tho the effect in the second image.
The red arrow is the surface normal and in blue we have the light ray.

 Since calculating double refractions would require some sort of ray tracing we'll use the approximation shown in the following figure
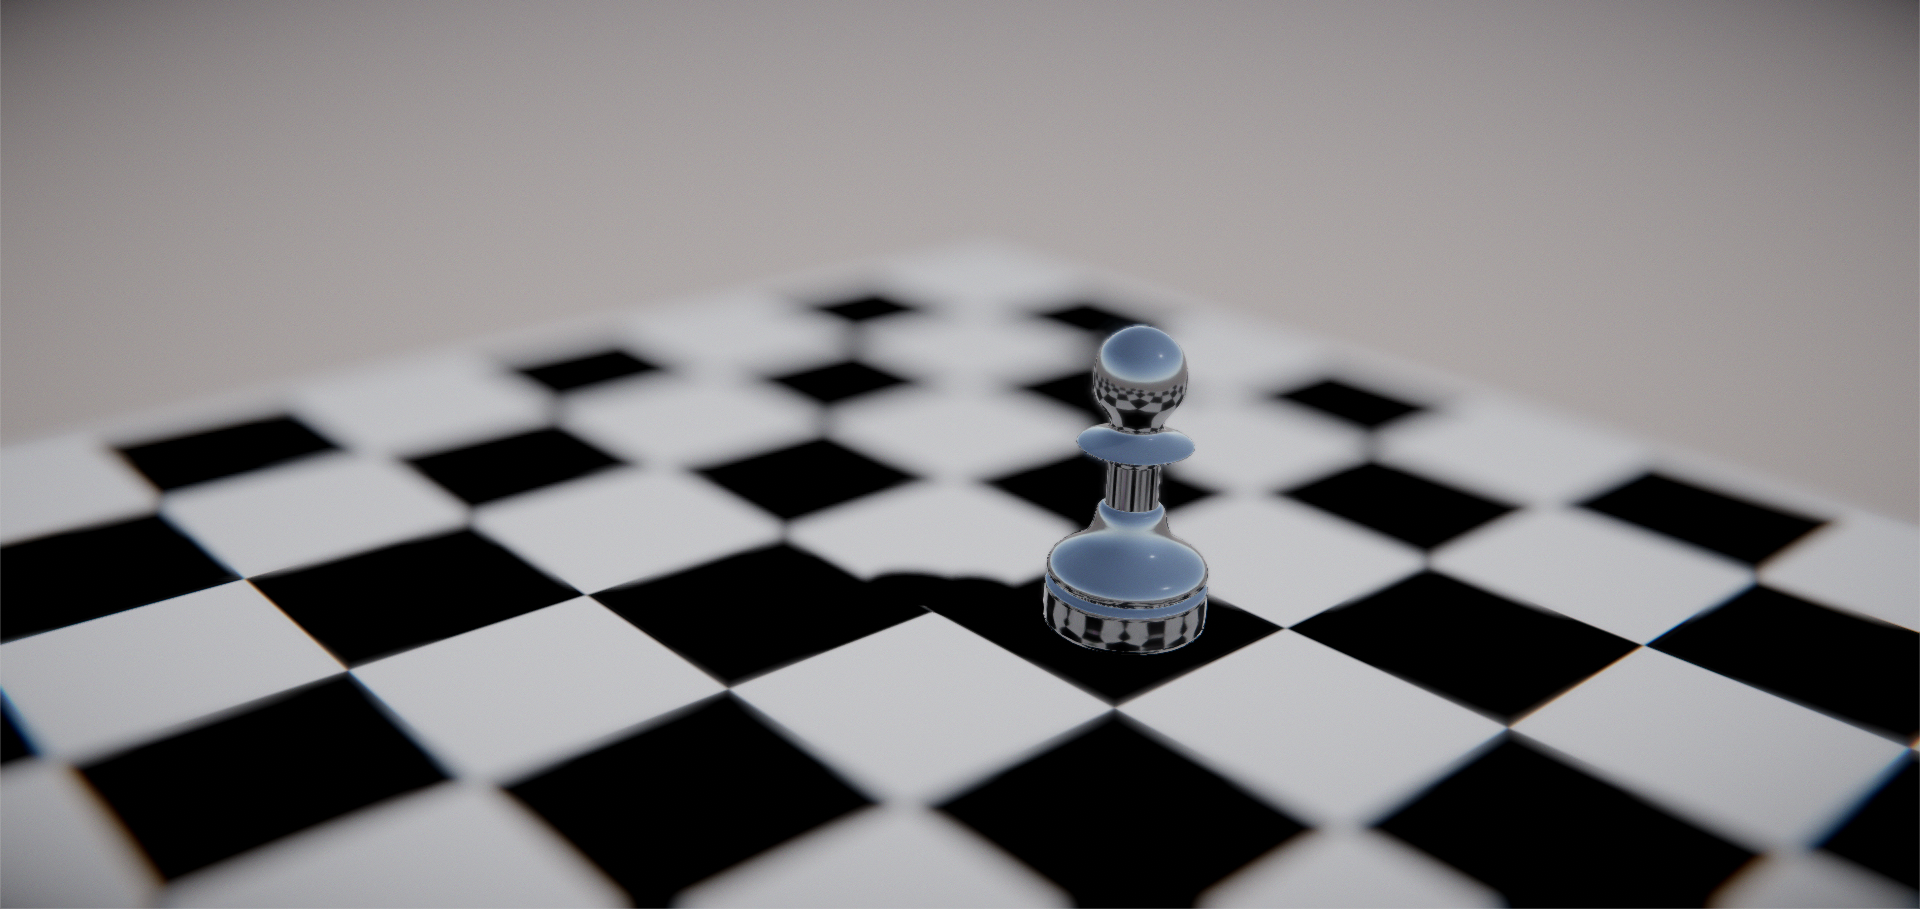
 note that the usual implementation would take the final refracted ray and use it to sample a sphere or cubemap placed at the center
of the object, this method threats the sphere as having an infinite radius, but the objects renderend in the sphere are not infinitely far away
and thus it is yet another approximation.
The approximation used make it easy to implement the double refraction for simple objects, to get the final ray direction we just need the front face normal and the back face normal at every pixel.
In Unity getting the front face normal is free, but to provide the back face normal we have to introduce a custom script. Basically the script renders only the back face normals to a texture and passes it to the main shader.
note that the usual implementation would take the final refracted ray and use it to sample a sphere or cubemap placed at the center
of the object, this method threats the sphere as having an infinite radius, but the objects renderend in the sphere are not infinitely far away
and thus it is yet another approximation.
The approximation used make it easy to implement the double refraction for simple objects, to get the final ray direction we just need the front face normal and the back face normal at every pixel.
In Unity getting the front face normal is free, but to provide the back face normal we have to introduce a custom script. Basically the script renders only the back face normals to a texture and passes it to the main shader.