Modeling a chess pawn
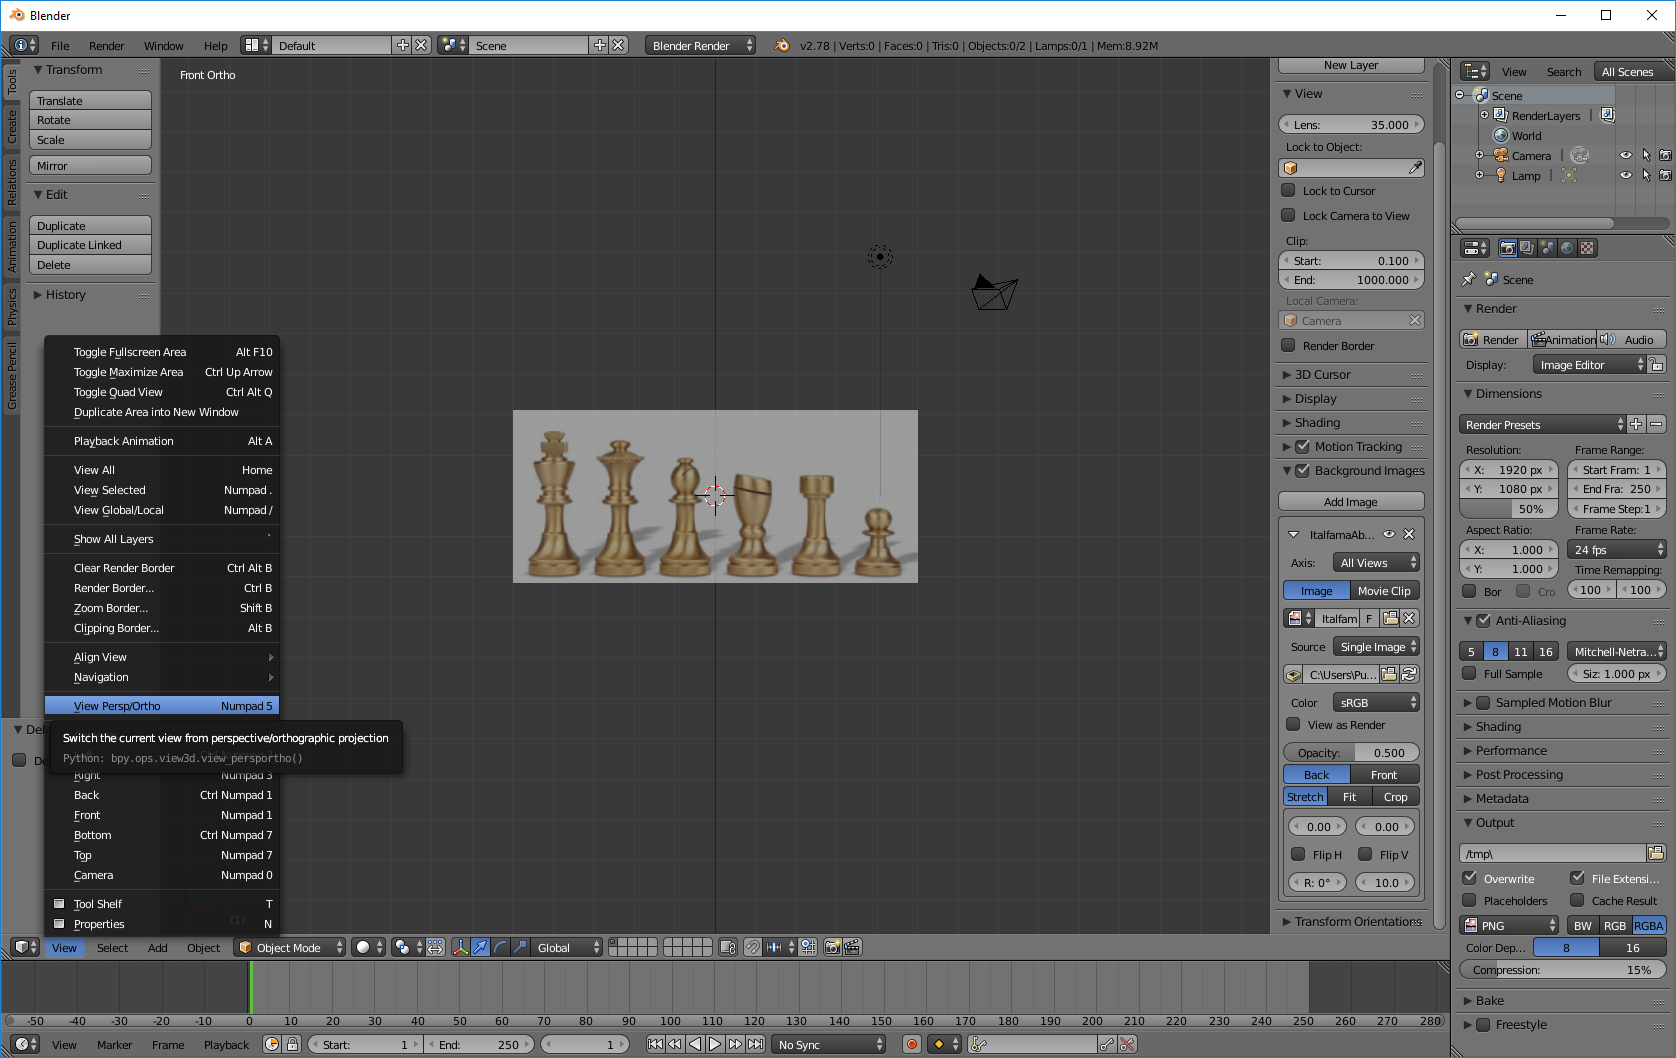
The easiest way to model anything is to have a reference, thus we should find a reference photograph of a chess pawn. I choose the following image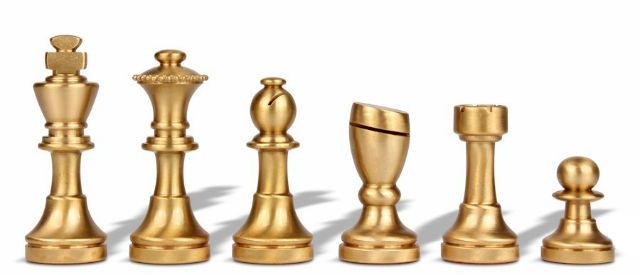
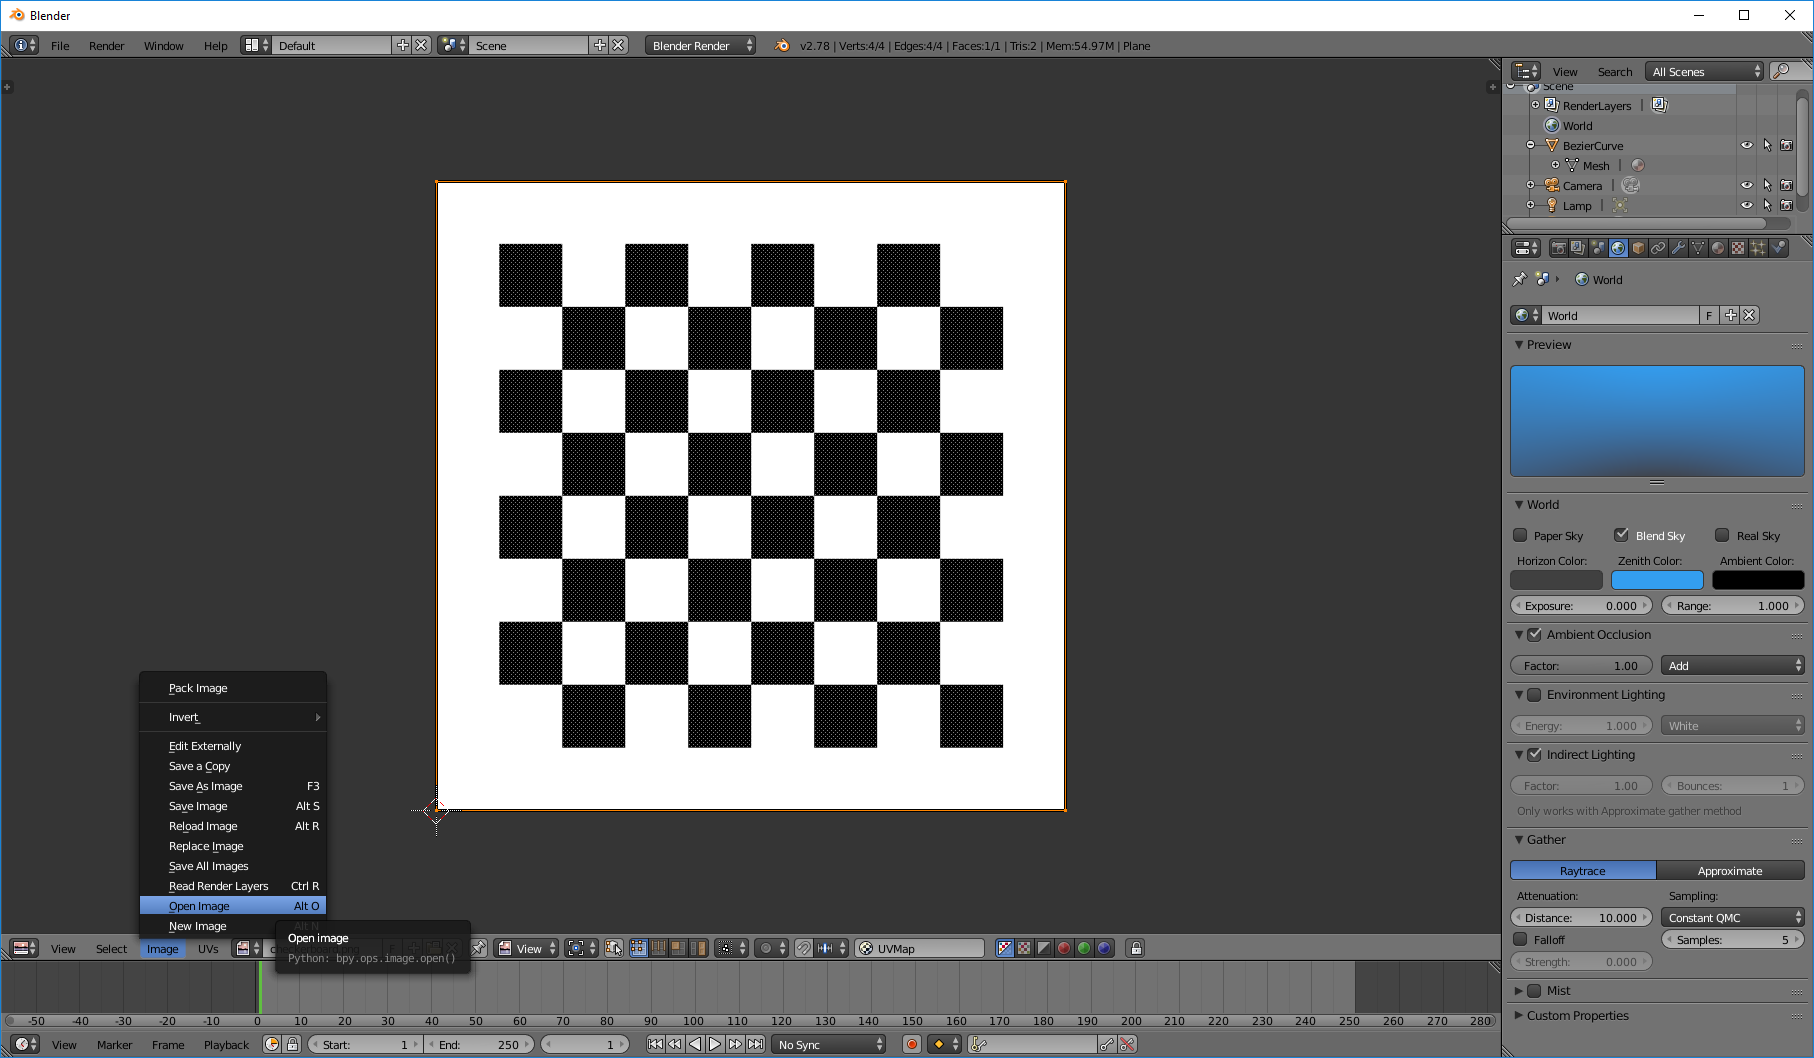
To setup the image as backgound of the viewport you'll have to press N, go to the backgound tab and select the image. I've set the backgound image to the front axis, if the image doesn't display remember to to set the view to ortho (Numpad 5).
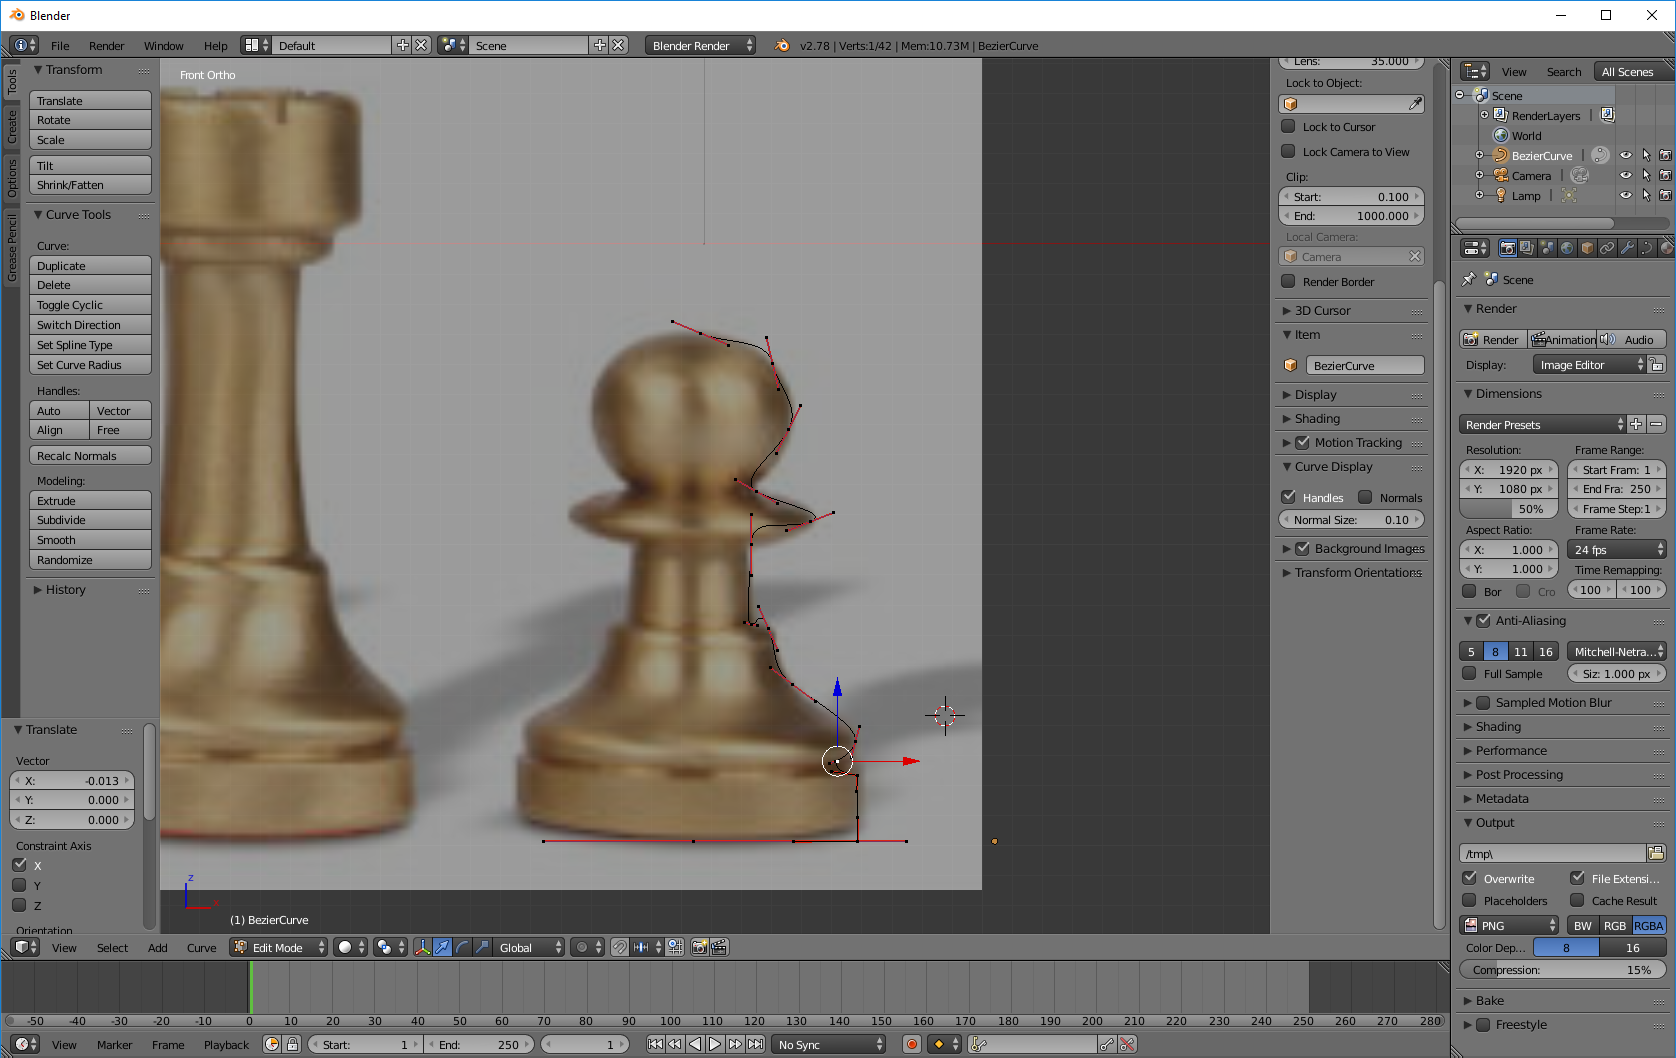
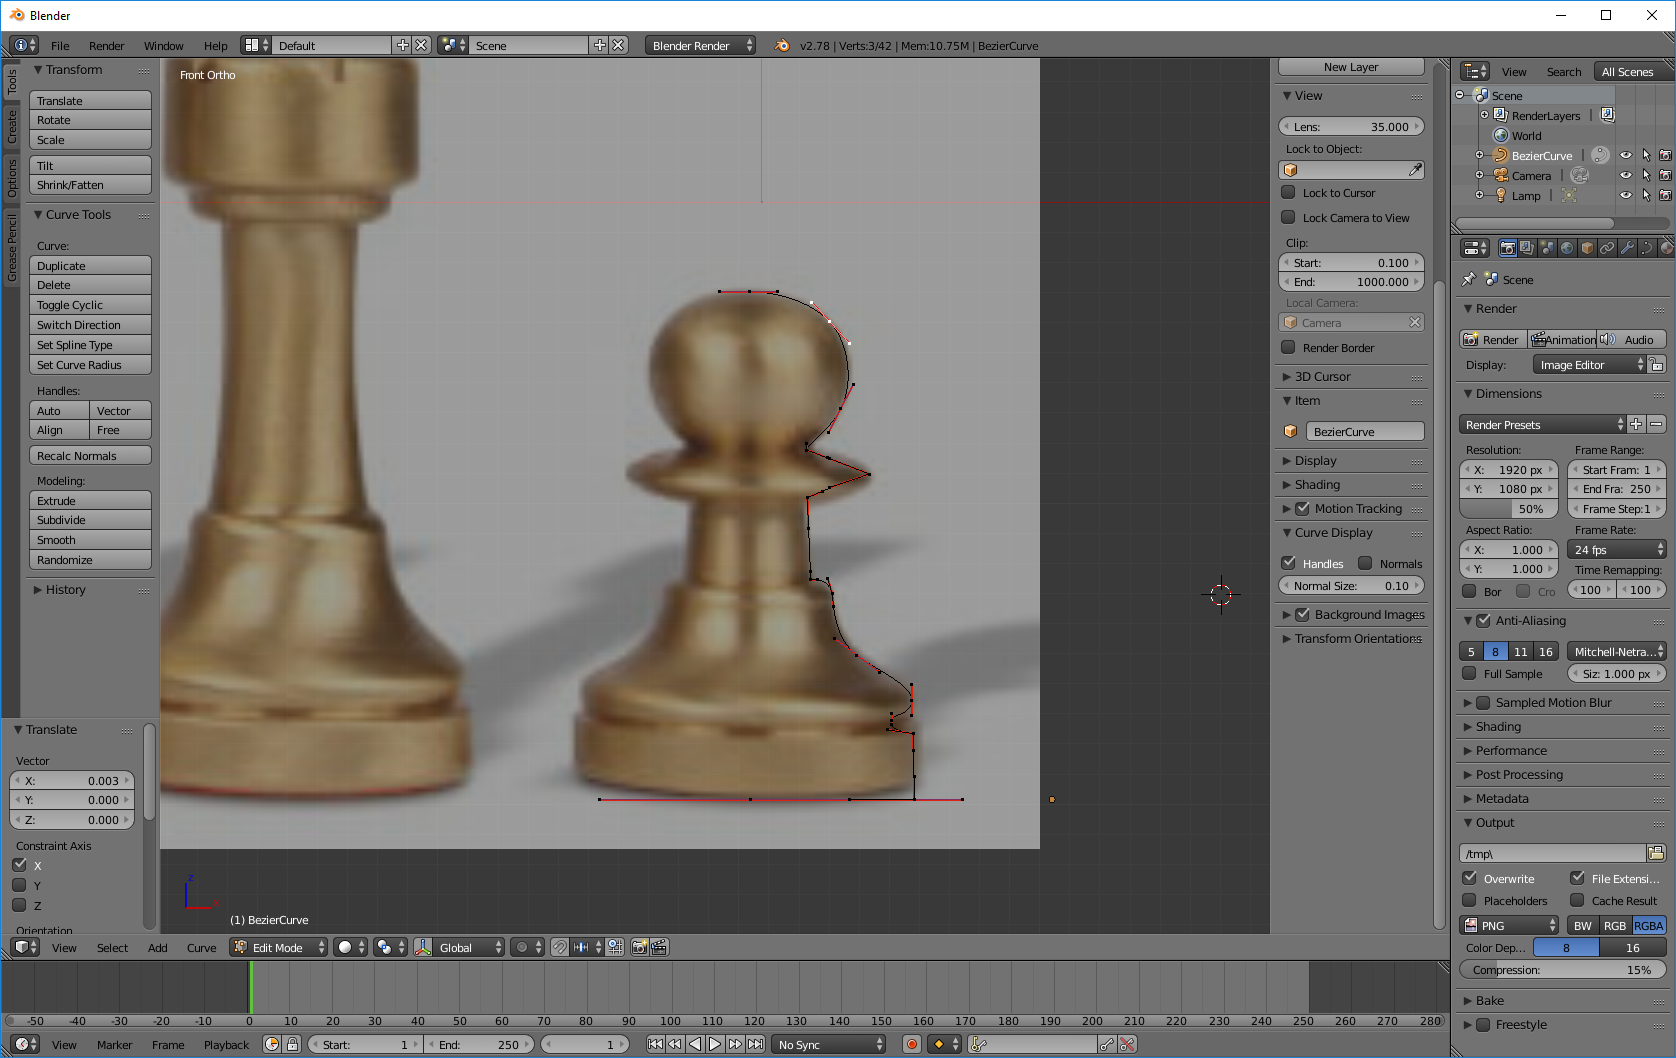
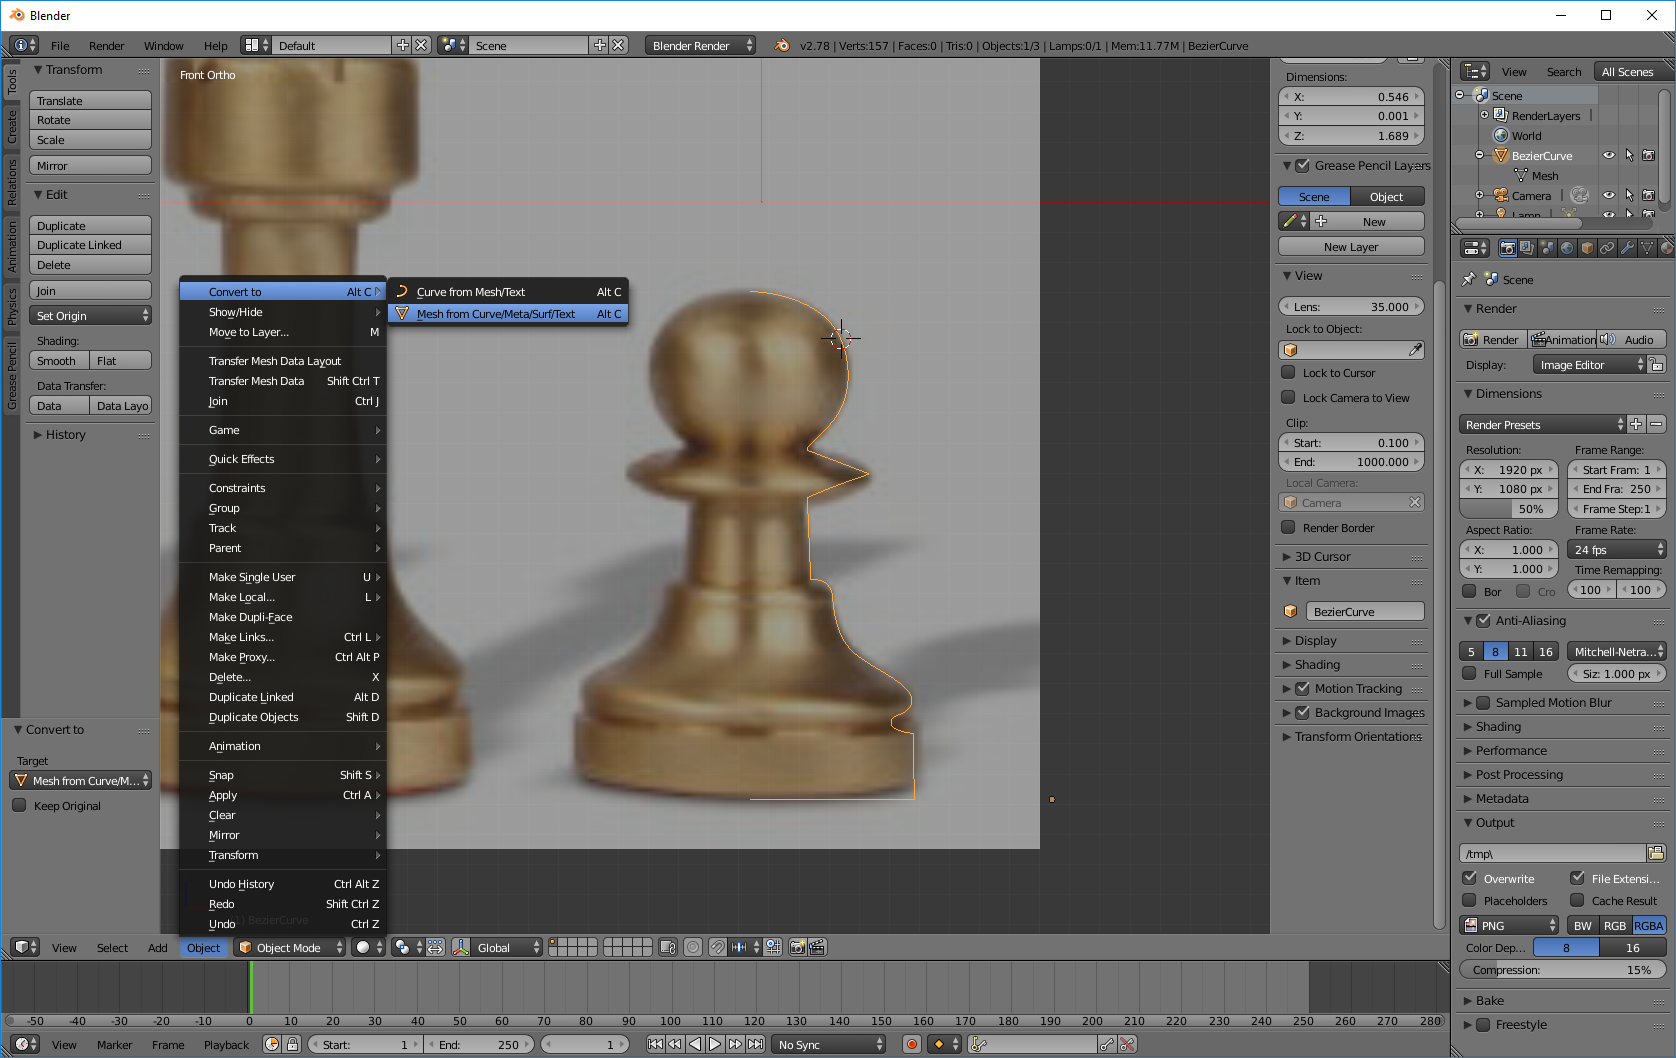
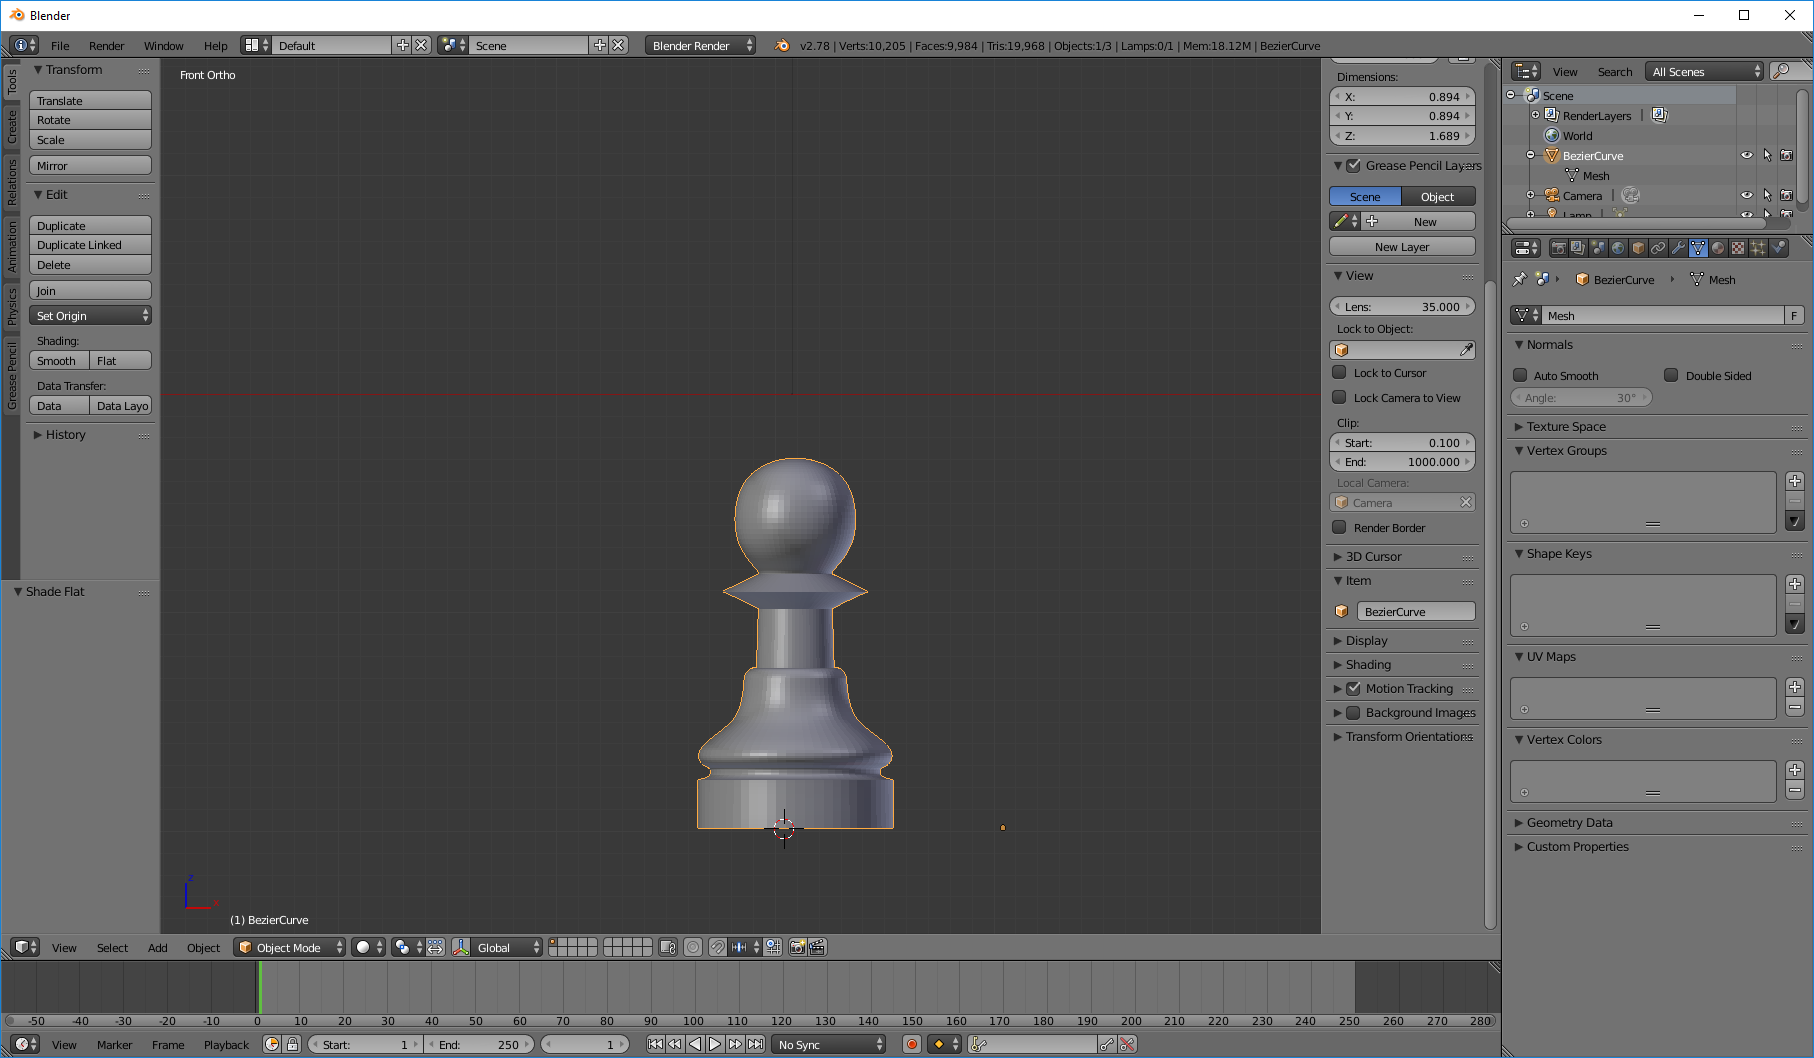
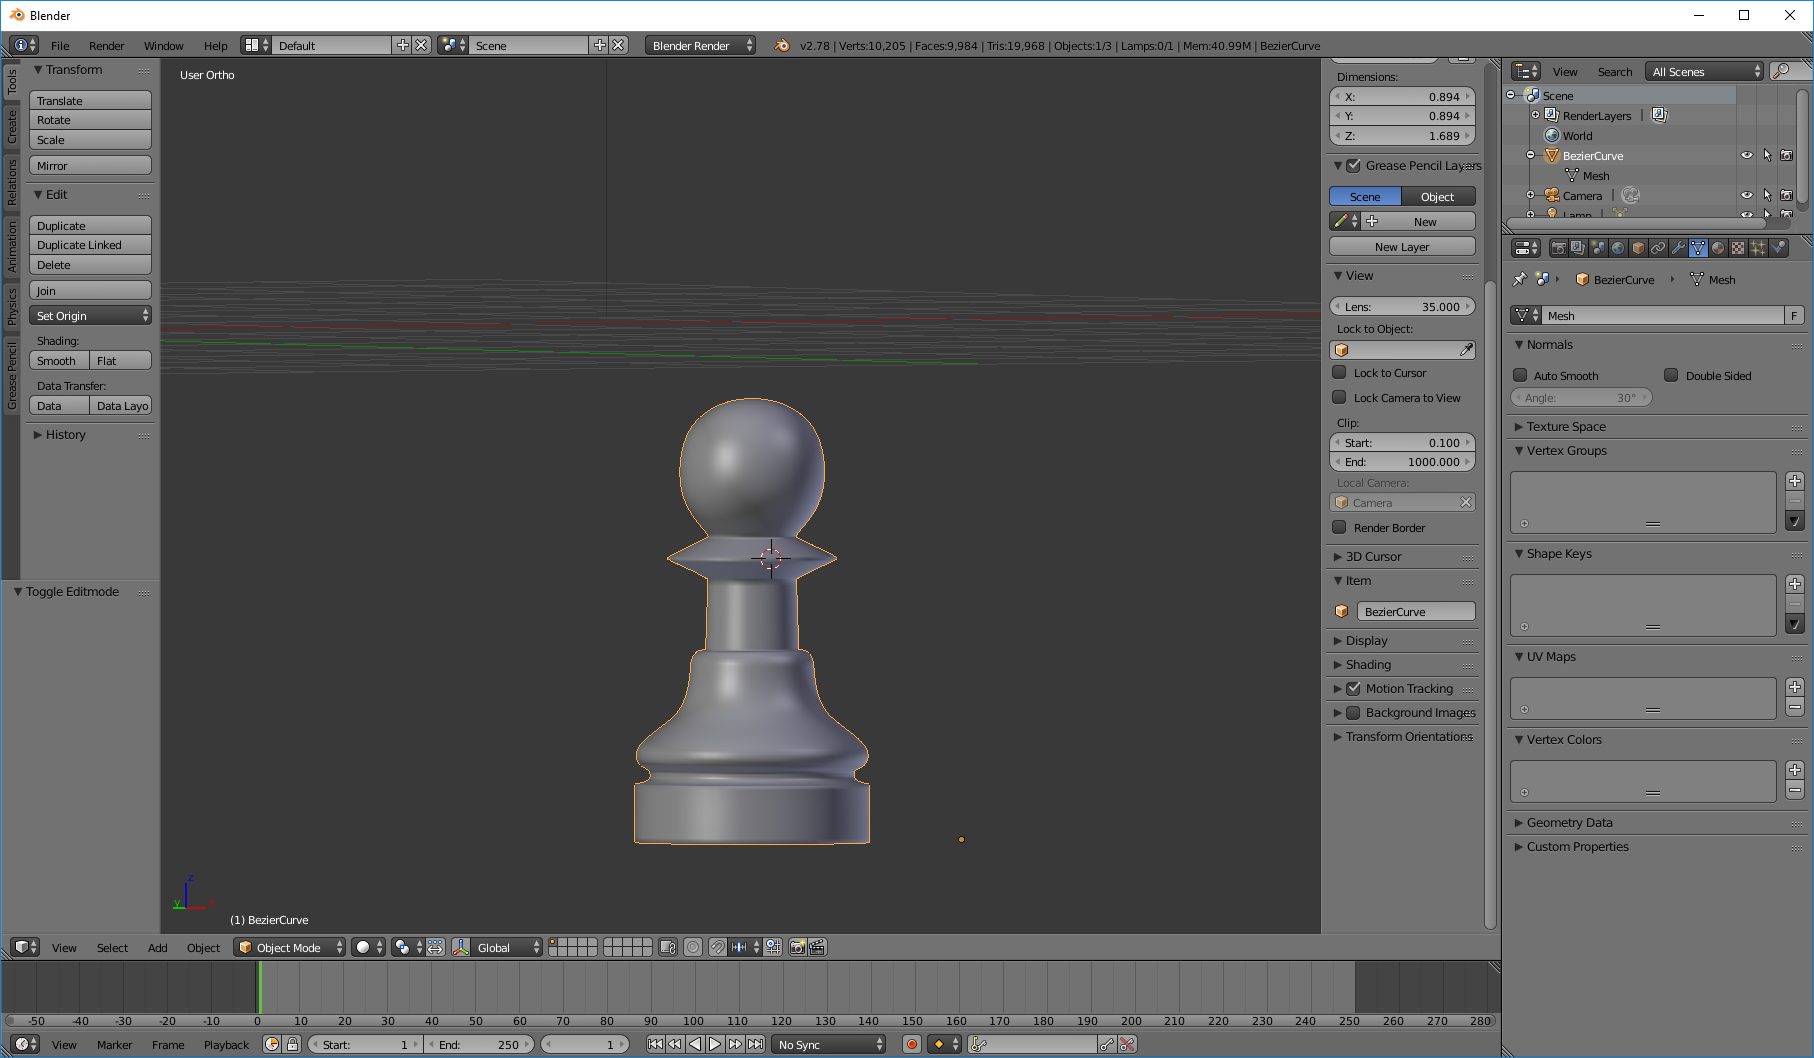
Next add a bezier curve and make the countour of half pawn. Then in object mode select the countour and convert it to mesh (Object > Convert to > Mesh or press Alt+C). In edit mode, go to the tools shelf and use the spin modifier with an angle of 360 degrees in Z axis to construct the pawn surface.

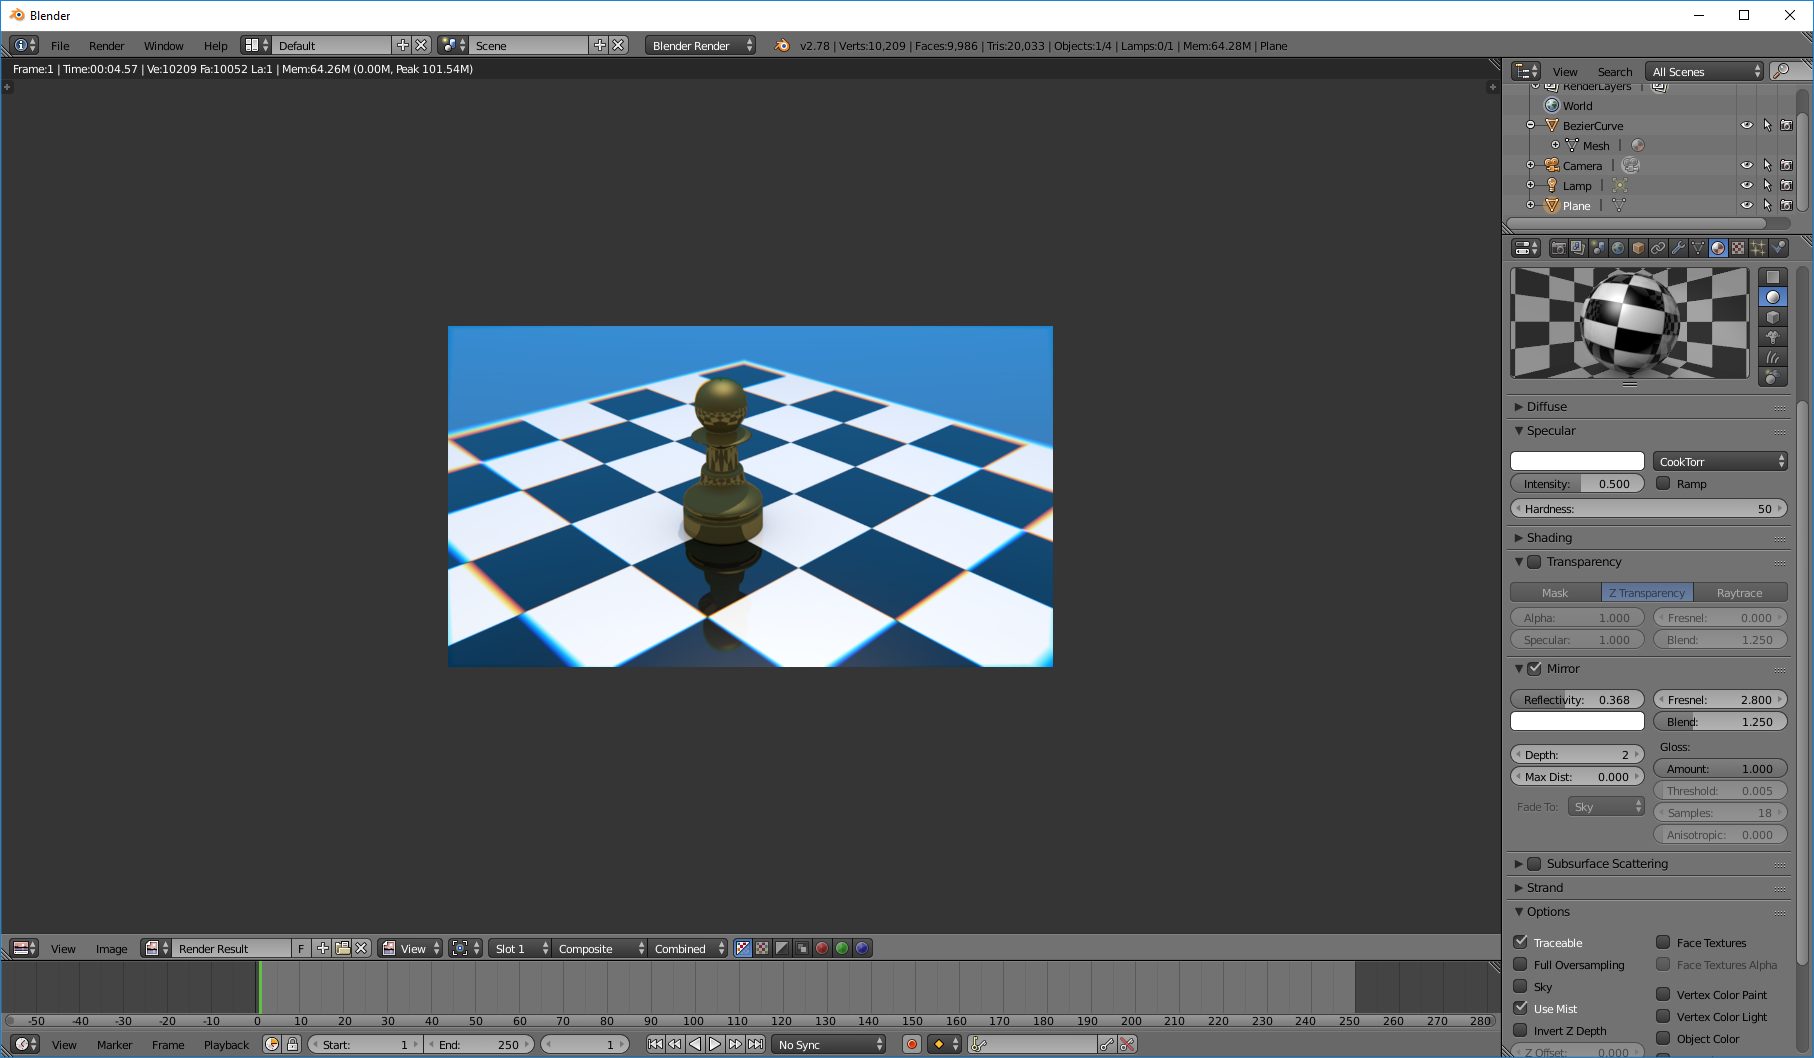
Material setup
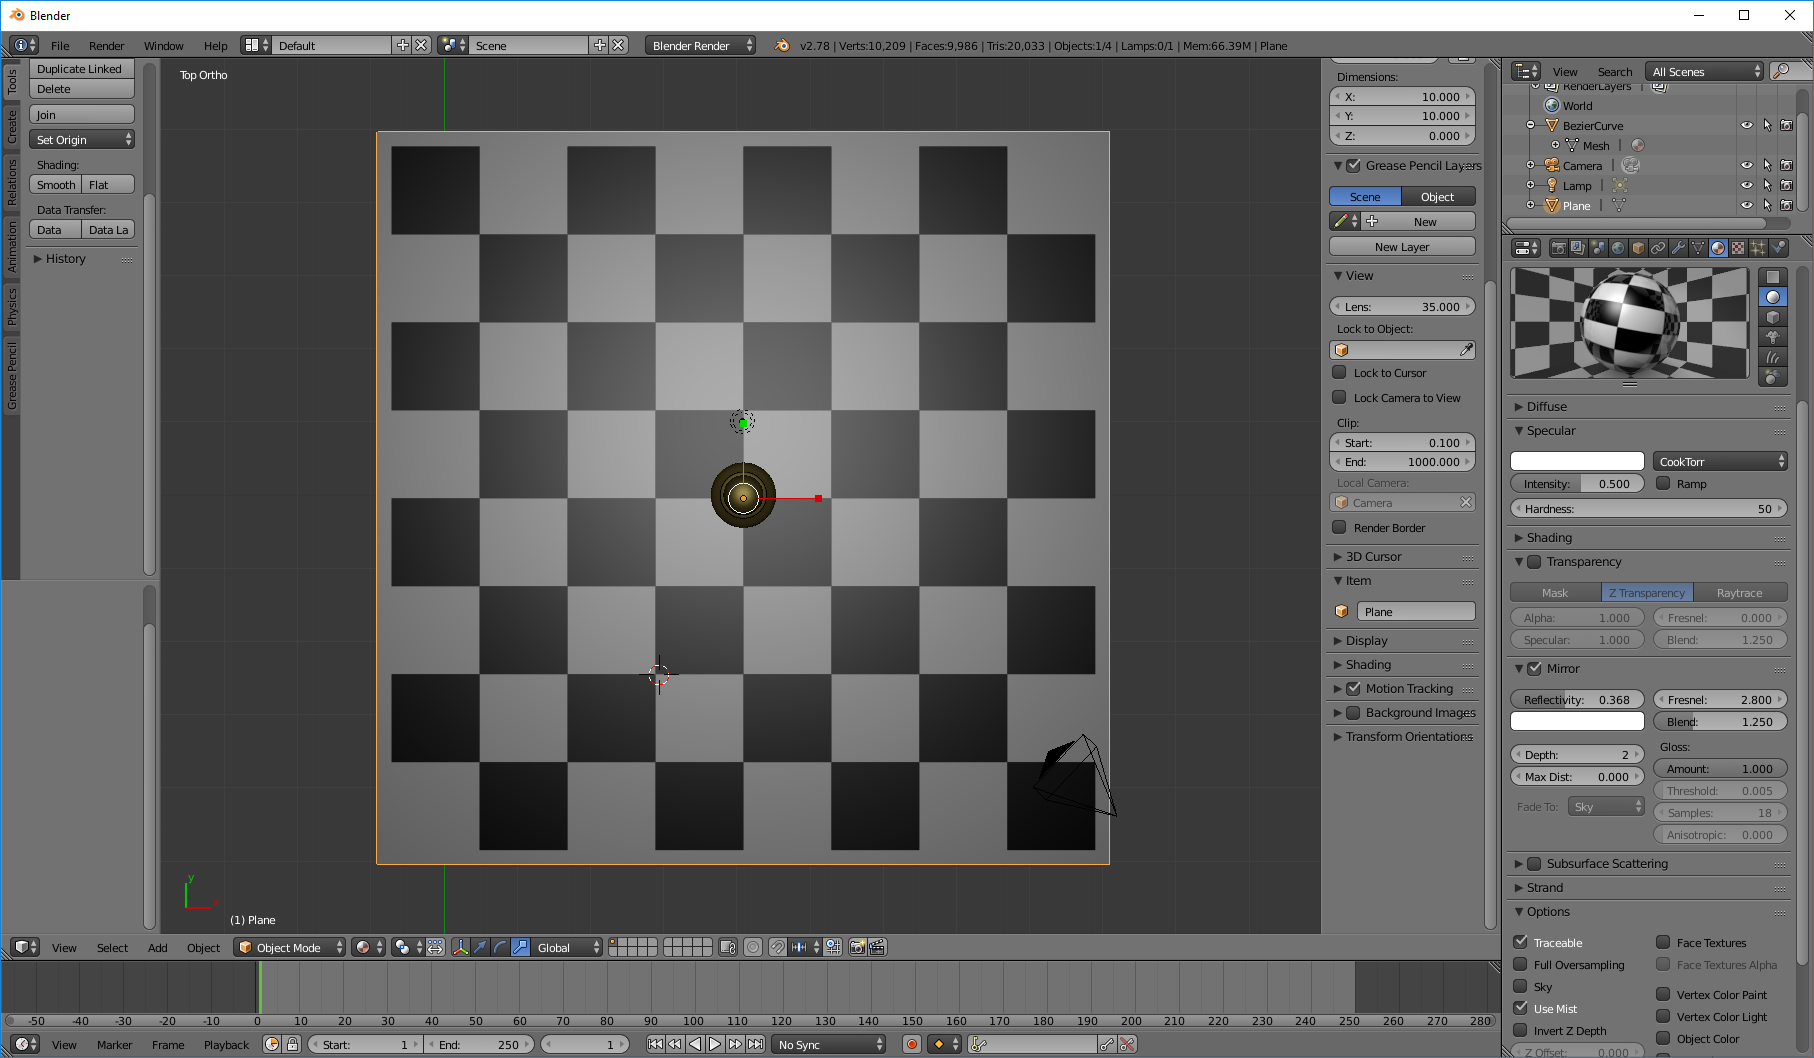
To setup the material, go to the material tab, add a new material. In difuse tab set the color do dark yellow and intensity to ~0.8. For the specular use a Cook-Torrance model with a light yellow color and set hardness parameter to 16. To add reflections go to mirror tab, check the mirror box and choose the parameters as you like.Scene composition
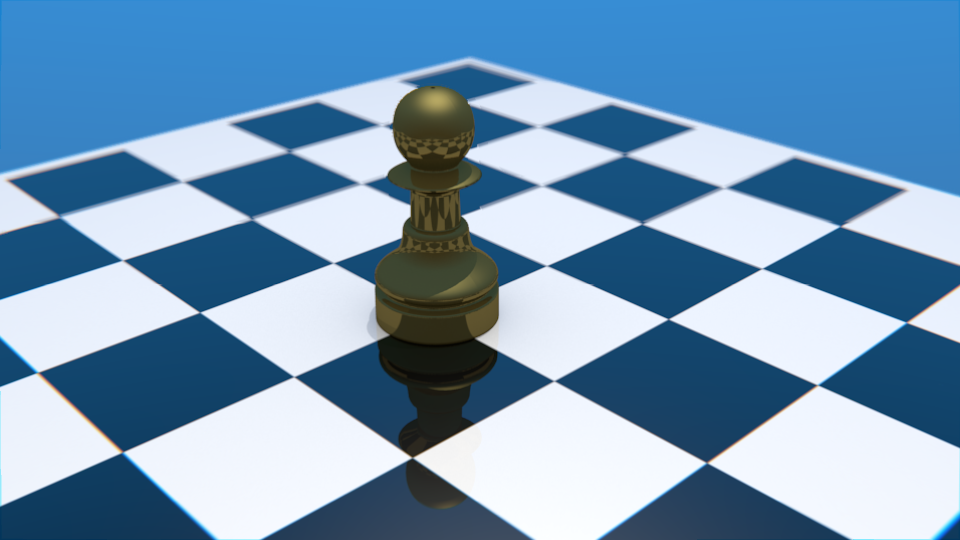
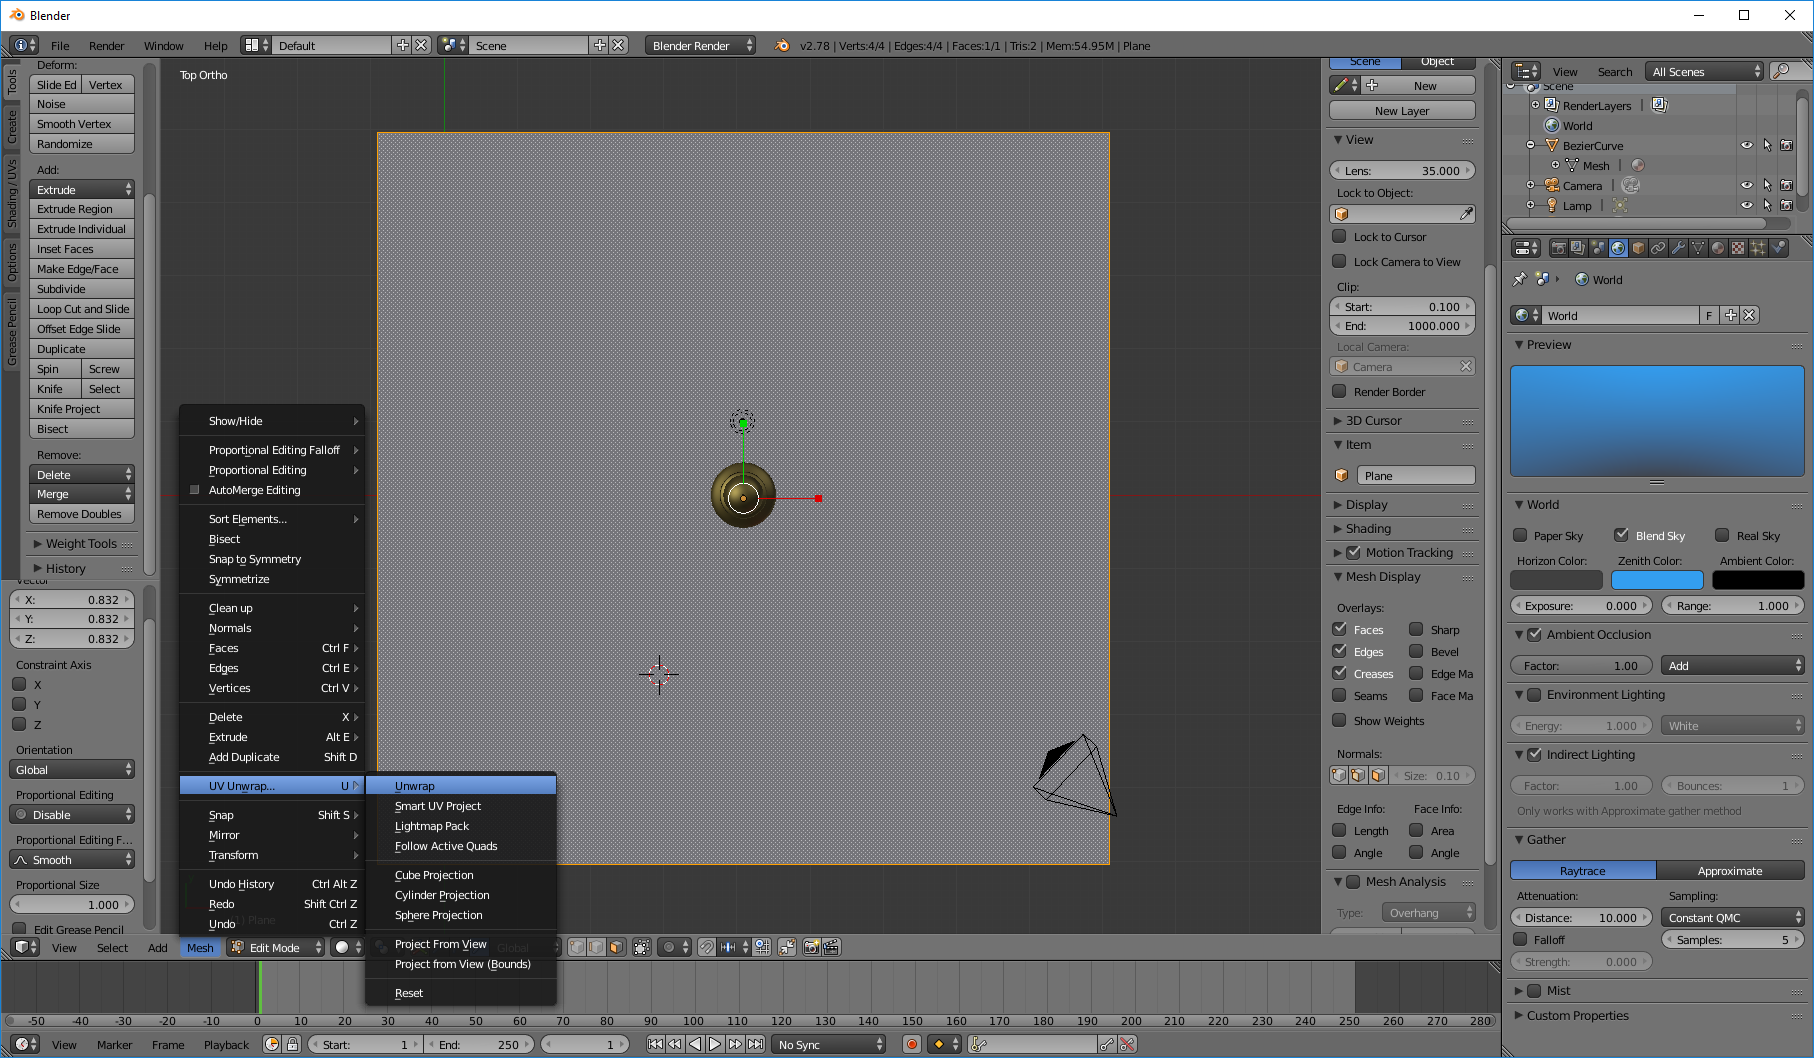
First we'll setup the sky. In the world tab check 'blend sky'' option, set hotizon color to dark gray and zenith color to blue. Add a plane bellow the pawn and set a material with a checkerboard pattern texture and add some mirror reflection to it.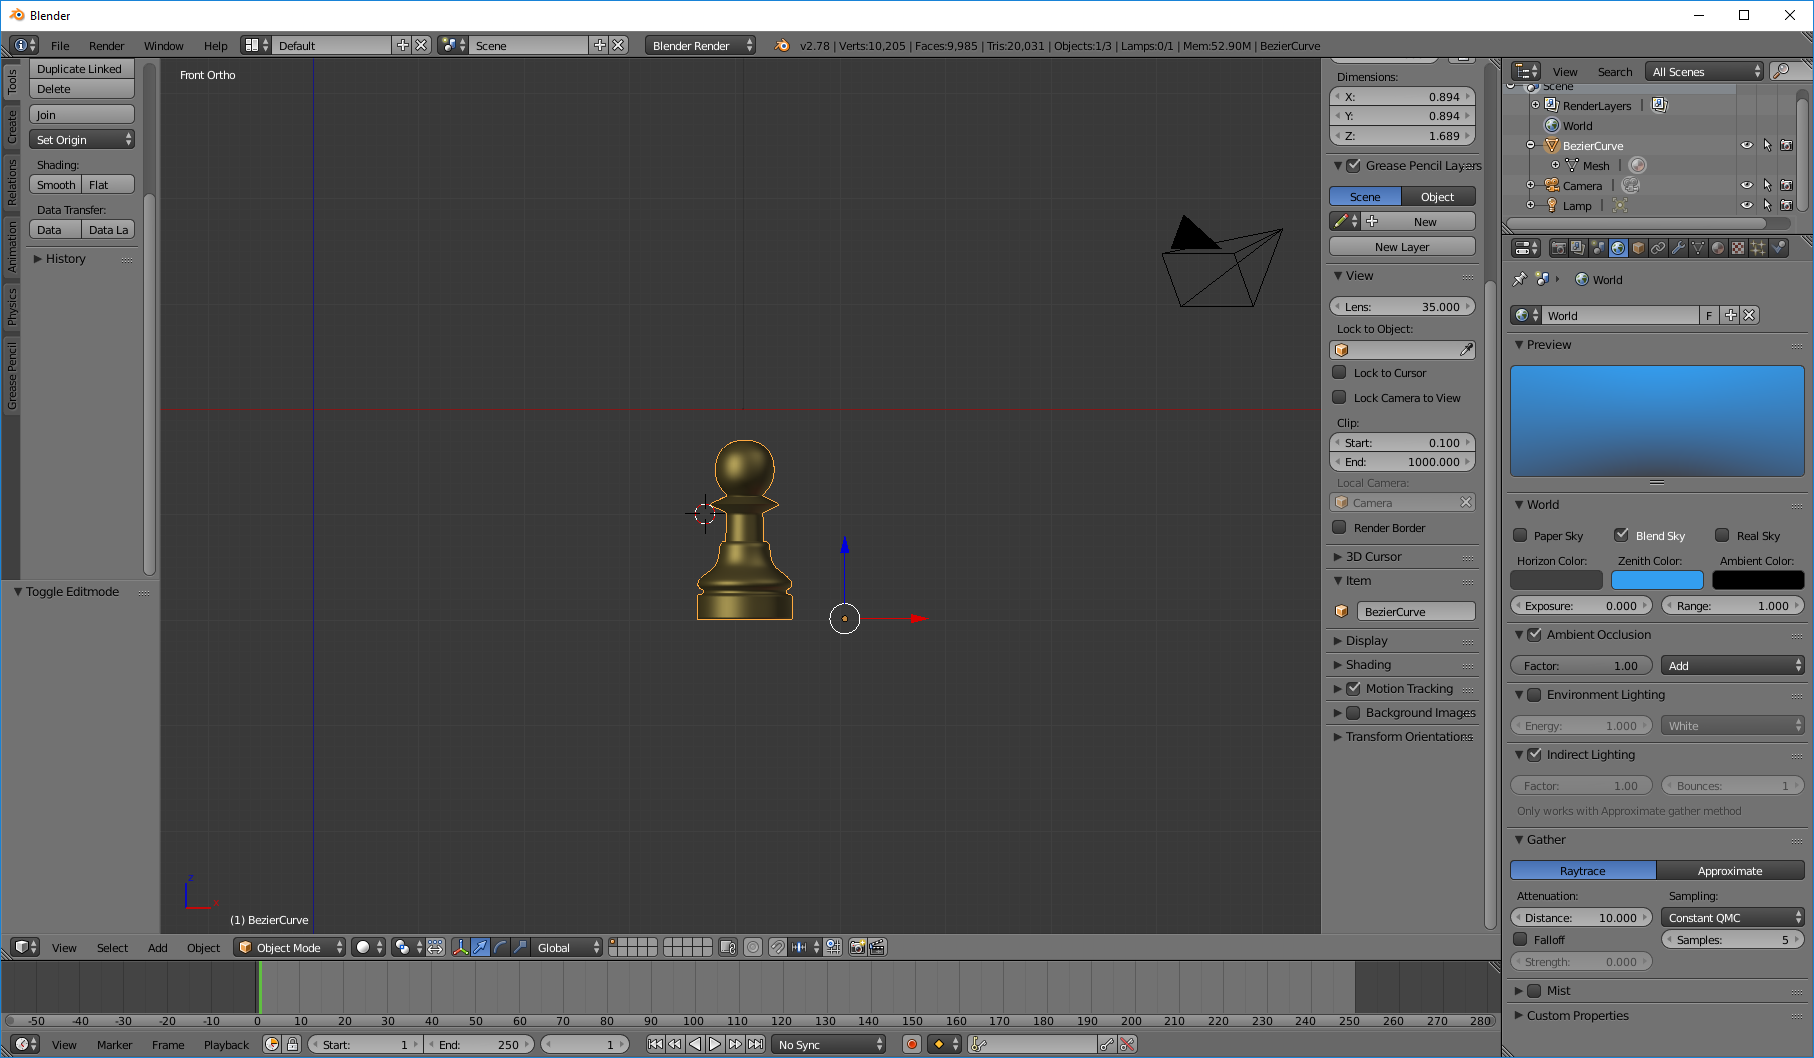
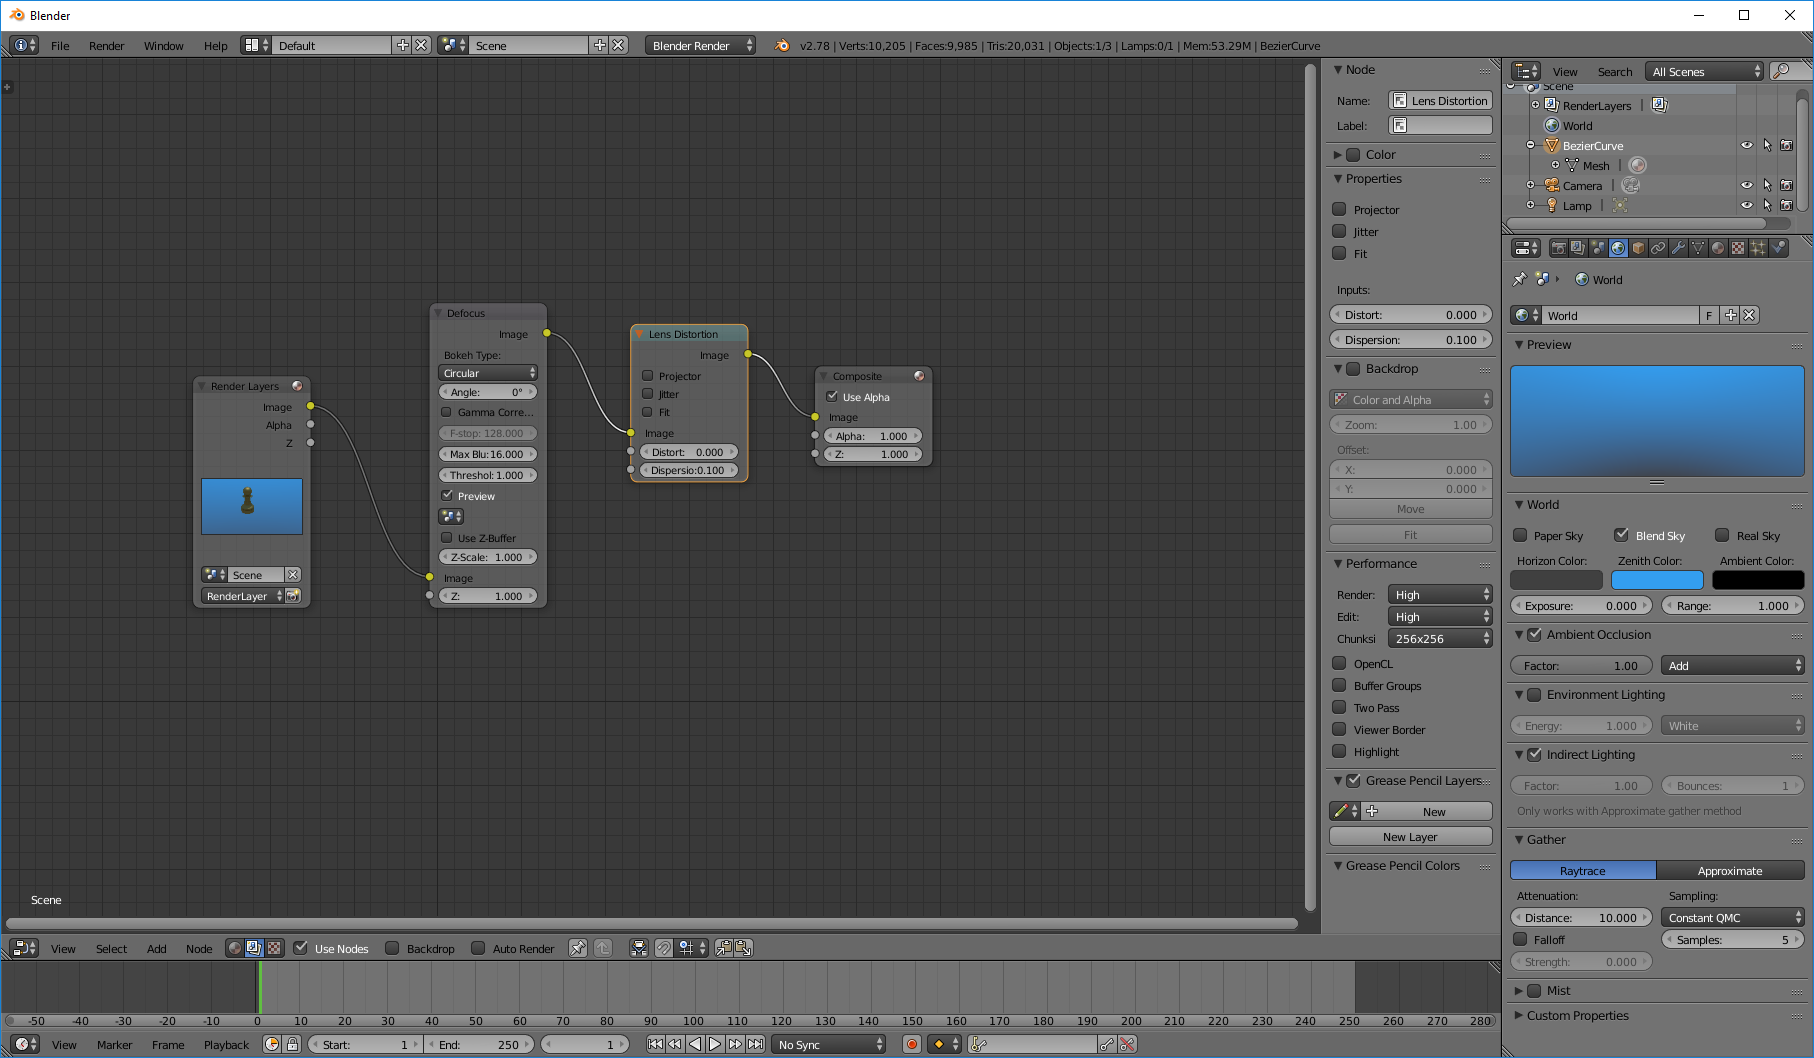
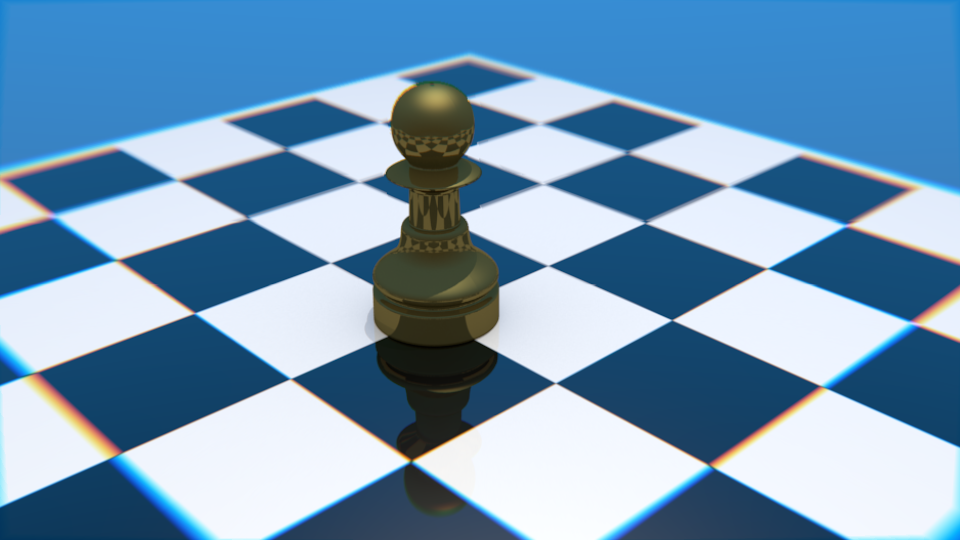
Bellow you can check the final result.